Friday, March 13, 2015

In previous post we have learn about how to install oracle. In this post we will learn how to install Toad as oracle developer tools. Before we install ensure we have the installer first. we can download on toad official sites at toadworld.com .

Except the installer we have need to know about what toad needs from hardware availibity.

Hardware Needs

  1. 75 MB disk space required to run Toad
  2. 512 MB RAM required, 1 GB recommended
  3. VGA monitor, 1024x768 resolution, small fonts Mouse pointing device

Software Needs

  1. Client Windows XP or Windows 7. Toad 64-bit support for Windows 2003/XP/Vista/7 with 32-bit Oracle Client
  2. Oracle Client has been installed.If we run in PC as server, we can direct connect to oracle.
  3. Oracle Server has been installed in previous step.

Step by Step Installing Toad

  1. Prepare Toad Installer 
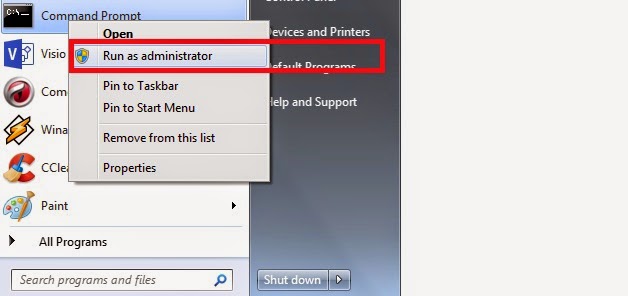
  2.  Open installer setup.exe right click and run as administrator. 
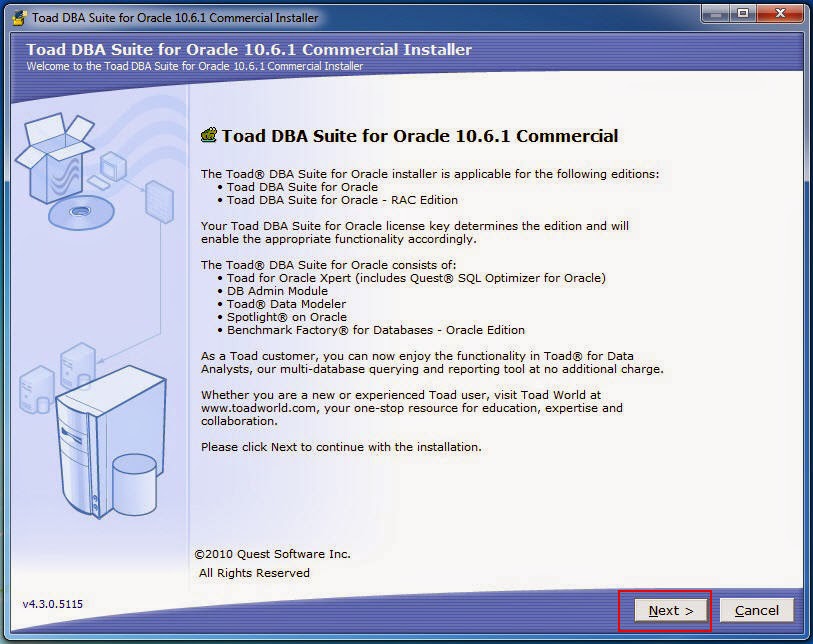
  3. Toad pre installation

  4. Accept the agreements and click Next to next step
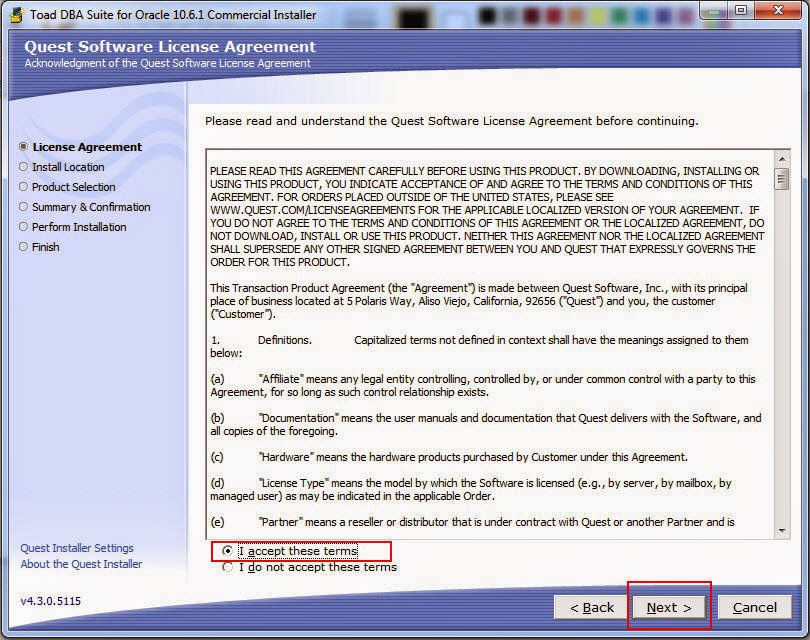
  5. Accept the toad agreement before install

  6. Choose the installation folder and click next. 
  7. For windows 7 Operating system, please install on drive D or not in OS Drive.
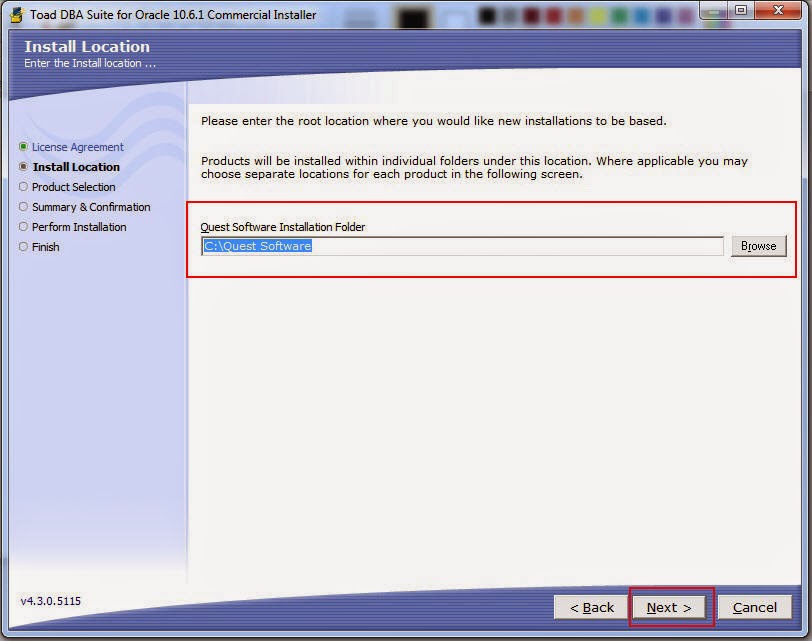
    Choose installation folder

  8. Select the "Toad for Oracle" to install toad.

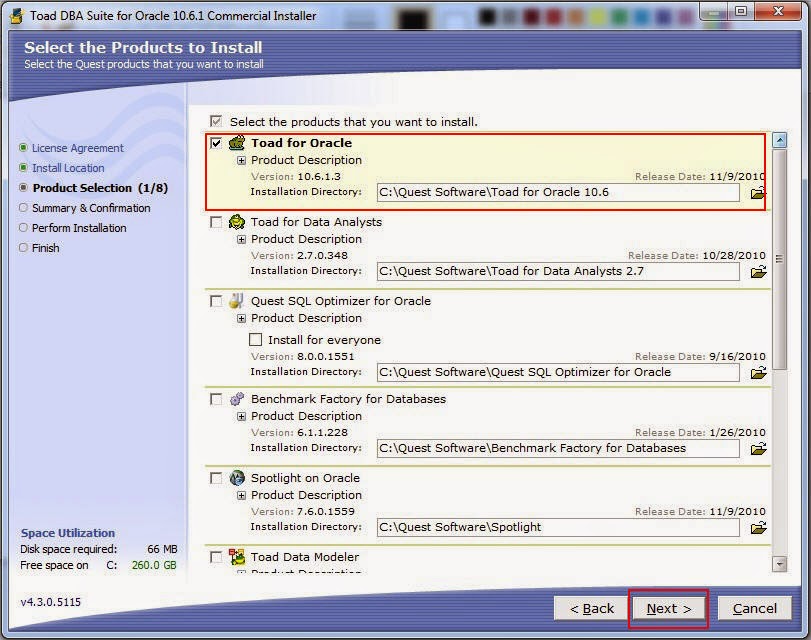
  9. Select toad for oracle to install
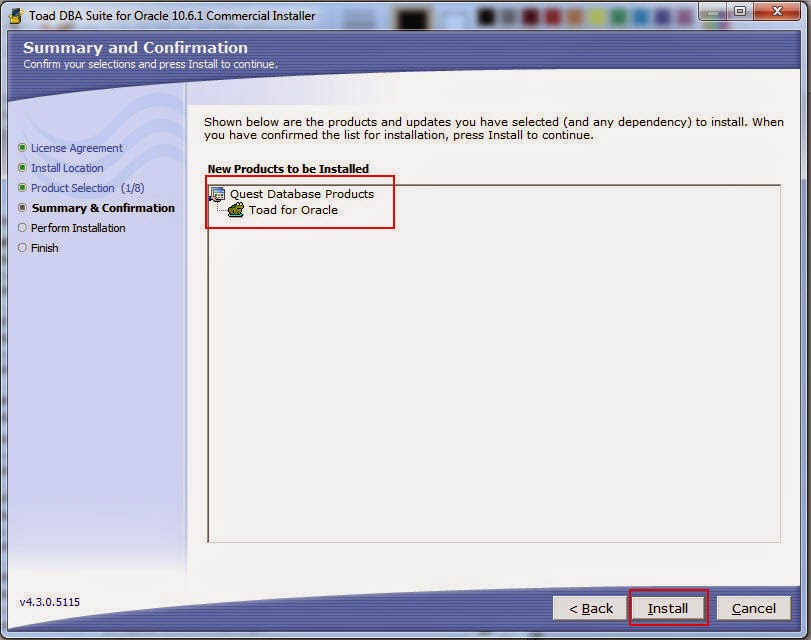
  10. Confirmation for installing toad, just click next to continue

  11. Toad confirmation

  12. Toad is start to Install. Wait till the installing process completed.

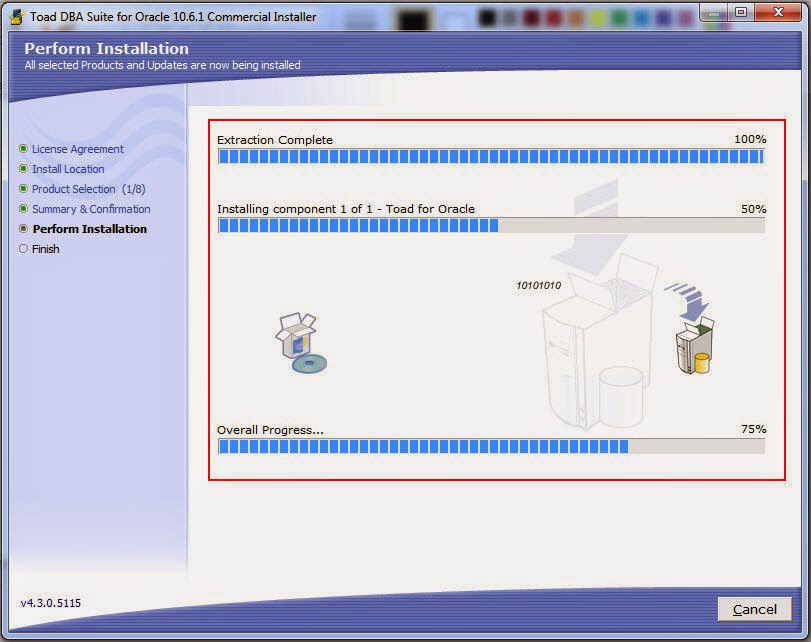
  13. Toad is now installing process


  14. Installing process has been done. Now toad is ready. Click finish to completed installation.
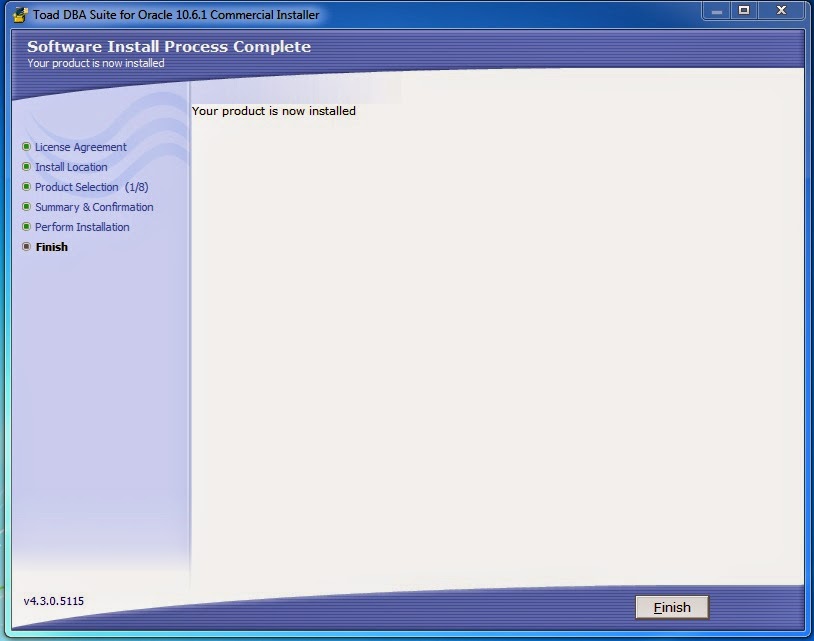
  15. Toad has been succesfully installed
    This is end of installation process, Toad is ready by right click on toad shortcut icon and run as administrator to use. In next step we will learn how to using toad and create new Schema. Hopefully you can catch up my explation. Keep trying and happy coding :D 
    Thanks-Ariyus  

Posted on 10:21 PM by Ari

5 comments

In previous post / Oracle 11g R2 Installation we have learn about what we should be prepare to install the oracle 11g R2.  In this post we will continue :

Step 2 : Installation Process Step

  • Run Installer setup.exe 
  • Setup Oracle 11g R2
  • Next step, the install form will shown form for email address, if we have oracle account just fill it, but if we don't have, just click next and leave this form to continue next step.
  • Add caption
  •  Next step choose the option  "Create and configure a database" and click next
  • Installation option
  • Next step select the Desktop Class to skip RAC right away which requires quite a bit more effort and click the Next button.
  • Desktop class option
  • Fill the oracle services and password and click next
    1. In this step specify the oracle destination folder.
    2. Select the oracle enterprise
    3. Specify oracle service (column Global database name) and password for DBA user
    Oracle 11g R2 setup service and fill password
  • At this step the Installer will run through some operating system checks to ensure there is RAM avalability, hard disk space, length of PATH variable, etc. If any of these checks fail, you will need to exit the installer and then correct the problems. If all of the checks pass, then click the Next button. 
  • Check availability hardware to install
  • This step is all of the options have been set and Oracle Installer is ready to begin. Click the Finish button to begin the install.
  • Oracle ready to install, just click finish to install
  • Oracle is now processing to install.Wait till the the process completed.
  • Oracle is now install process. wait till the end of process (completed)
    Oracle still install process
    When the assets oracle has been copied and installed, the Database Configuration Assistant will launch. Generally there is not much we need to do at this point except allow the Assistant to finish.&nbsp
  • The installation process has been done. Next step is unlock user, or set user DBA.

  • We can set the user and password even lock the user for each user in oracle.
    Install process has been done.
  • The installation process has been done. Next step is unlock user, or set user DBA.
  • Set user and unlock user.
  • The last step is notification that the process is completed.
  • Installation has been completed.
    The installation of oracle has been done. In next post i will explain how to check oracle services. 

Posted on 10:19 PM by Ari

1 comment

In previous post we have learn to install oracle 11g Release 2. In this post i will explain about, how to check services in oracle.
Step to check oracle services in windows as follow :
  1. Type "service.msc"  to open list services in windows  
  2.  
    Open services
  3. In installation step, we have set the oracle services with "ORCL"
  4. Oracle services
    Ensure the services is started. If the services is not started, we can right click and start the services. Happy coding. 

Posted on 10:18 PM by Ari

1 comment

To work with oracle we can use direct query with sqlplus or using P/L SQL tools. To access sqlplus just open command line (command prompt) but ensure open command prompt as Administrator and type "SQLPLUS". Detail step as the follow :
  1. Open command prompt and run as administrator
  2. Open command prompt
  3. Type "SQLPLUS on commandline
  4. Type sqlplus in commandline
  5. Login to user database
  6. if you don't have database please create first with DBA account. In oracle user and database are same. For example i have user MPS, means that MPS is the database.
    Login to database using sqlplus


    If we have an table we can select the table by typing query in SQL. Keep trying, if any question leave the comment. Happy coding. 

Posted on 10:16 PM by Ari

1 comment

A few days a go me and my team start with project PSAK 50/55 for banking regulatory application. This application is about calculating fee amortization and calculation provision of debtor in bank. Our application is builted in .NET with oracle database.

I think all of you familiar with oracle. The version oracle that we used is Oracle 11g R2 and my team request me to explain about HOW TO SETUP ORACLE 11G R2 on windows 7. To install oracle we have 2 main step to do. First we must prepare all assets and number two the main step is installation. Let's start.

  1. Praparation Step 
  • Check the Bit of operating system
  • At least RAM 4GB (8GB or more is better, especially if you will also use Oracle’s development tools)
  • Disk space 4GB or more is better. The big size disk needs depend on where is place we put the data
  • Ensure sure the PATH of environment variable is shorter than 1,000 characters. If our path is more than 1.000 characters oracle cannot be installed properly and we must to replace the PATH and move old PATH with new PATH. 
  • Before we start we must have the Oracle installation. 
  • Source Oracle 11G Installation
    Source Oracle 11G R2 Installation
  • If we don't have the installer we can download from oracle site. Detail link as below : http://www.oracle.com/technetwork/database/enterprise-edition/downloads/index.html
    Link Download Oracle Installer 11g R2
  • Firstly extract the installer to one directory. For example the name directory created with name "Database".
    Create database directory
  • After create the directory continue with unzip install to directory "Database"
  • The next step is installation. The detail about installation process can be reach in this link. Oracle 11g R2 Installation(Step 2)


Posted on 10:13 PM by Ari

1 comment

Contact Us

Name

Email *

Message *